What is the Best Way to Paint Interior Doors?
Painting interior doors is a transformative project that instantly elevates your home’s style and boosts its overall value. With the right techniques and a bit of patience, you can achieve a professional-quality finish that lasts for years. This comprehensive guide walks you through every stage of the process, from selecting the ideal paint to maintaining your newly painted doors.
The Importance of Door Painting
Interior doors are more than just functional elements—they serve as focal points in your rooms and reflect your personal style. Regular painting not only refreshes their appearance but also protects the wood from daily wear, moisture, and scratches. A well-painted door enhances the ambiance of your space and ensures longevity for your investment.
Choosing the Right Paint for Interior Doors
Selecting the appropriate paint is crucial for both aesthetics and durability. Here are the most popular options:
-
Semi-Gloss Paint: Offers a subtle sheen, resists fingerprints, and is easy to clean—ideal for high-traffic areas.
-
Satin Paint: Provides a soft, velvety finish that hides minor imperfections and is low-maintenance.
-
Matte Paint: Delivers a flat finish, perfect for hiding flaws, but less durable in busy areas.
-
Oil-Based Paint: Delivers a rich, durable finish but requires longer drying times and careful ventilation.
-
Water-Based Paint: Dries quickly, has low odor, and is environmentally friendly, making it a popular choice for interior projects.
Essential Tools for Painting Interior Doors
Equipping yourself with the right tools makes all the difference. You’ll need:
-
High-quality paint (semi-gloss or satin recommended)
-
Angled brush (2-2.5 inches)
-
Foam roller (4-inch for flat surfaces)
-
Painter’s tape
-
Sandpaper (150 and 220 grit)
-
Tack cloth
-
Wood filler (for imperfections)
-
Drop cloth
Investing in quality tools ensures smooth application, minimizes streaks, and gives your doors a polished look.
Step-by-Step Preparation Process
Proper preparation is the foundation of a flawless finish:
-
Remove Hardware: Take off knobs, hinges, and any other fixtures to avoid paint buildup.
-
Fill Imperfections: Use wood filler to patch dents, holes, or scratches. Let it dry completely before proceeding.
-
Sand the Surface: Start with 150 grit sandpaper for a rough texture, then finish with 220 grit for smoothness.
-
Clean Thoroughly: Wipe away dust and debris with a tack cloth to ensure the paint adheres well.
Priming: When and Why It Matters
Priming is essential for bare wood, stained doors, or when switching from a dark to a light color. It seals the surface, covers stains, and improves paint adhesion. Use a primer compatible with your chosen paint type—water-based or oil-based. Let the primer dry completely before moving on to painting.
Painting Techniques for a Flawless Finish
Follow these steps for professional results:
-
Tape Edges: Use painter’s tape to protect hinges, glass panels, and trim.
-
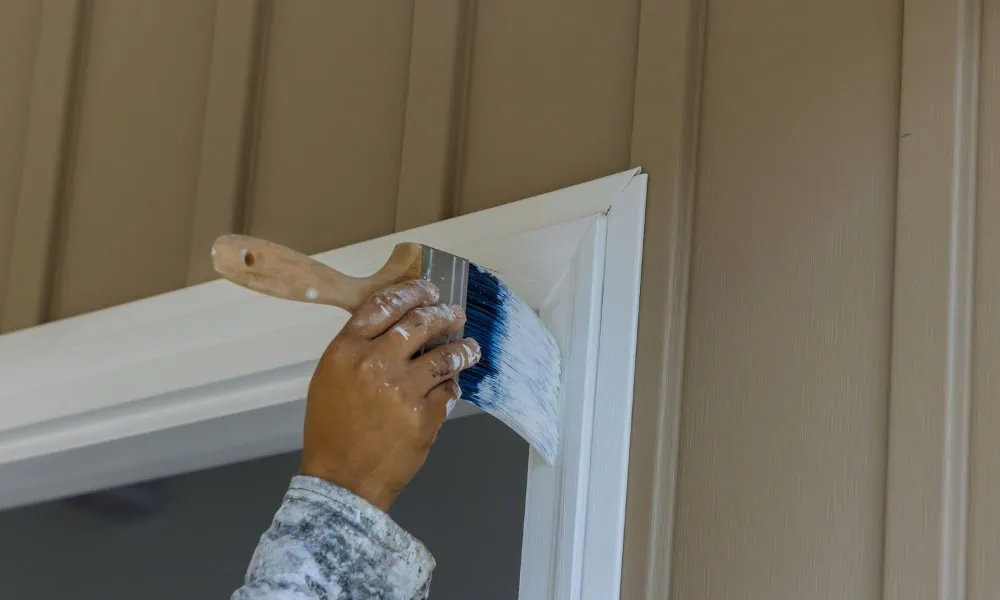
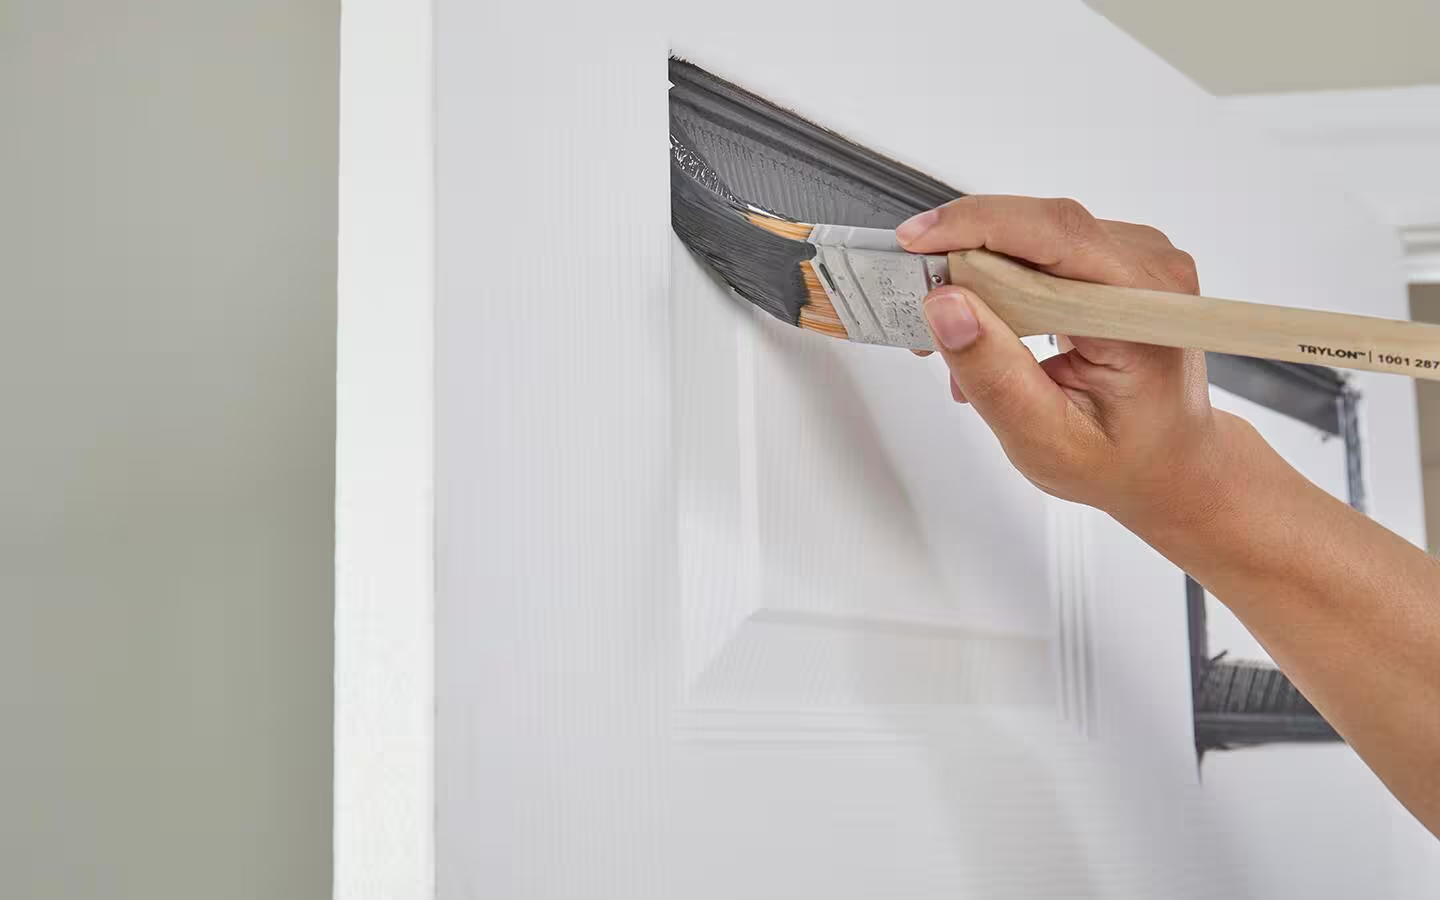
Start with Edges: Use an angled brush for the door’s edges and recessed areas.
-
Roll Flat Surfaces: Use a foam roller for flat panels to avoid brush marks.
-
Apply Thin Coats: Use long, smooth strokes and avoid thick layers to prevent drips.
-
Sand Between Coats: Lightly sand with 320 grit sandpaper between coats for a smooth finish.
-
Reattach Hardware: Once the final coat is dry, remove tape and reattach all fixtures.
Expert Tips for a Professional Result
-
Work in a Dust-Free Area: Minimize dust and debris for a spotless finish.
-
Use Quality Brushes and Rollers: High-end tools prevent streaks and ensure even coverage.
-
Thin, Even Coats: Multiple thin layers look better than one thick coat.
-
Paint Door Before Trim: This technique ensures clean lines and prevents accidental smudging.
Common Mistakes to Avoid
-
Rushing the preparation phase
-
Skipping sanding or priming
-
Using low-quality paint or tools
-
Applying thick coats, leading to drips and uneven texture
-
Not allowing adequate drying time between coats
Maintenance and Touch-Ups
Regular upkeep keeps your doors looking fresh:
-
Cleaning: Use a mild soap and water solution every few months. Avoid harsh chemicals that can damage the finish.
-
Repairing Imperfections: Address chips and scratches promptly with matching paint or a touch-up pen. Light sanding before touch-ups ensures seamless blending.
-
Inspect Regularly: Check for wear and tear, and perform touch-ups as needed to maintain the door’s appearance.
Frequently Asked Questions
1. What type of paint is best for interior doors?
Semi-gloss and satin finishes are the top choices for interior doors due to their durability, ease of cleaning, and resistance to fingerprints. These finishes are perfect for high-traffic areas and ensure your doors look great for years.
2. Is priming necessary before painting interior doors?
Priming is crucial for bare wood, stained doors, or when changing from dark to light colors. If the door is already painted with latex and you’re using the same type, priming may not be required. Always refer to the paint manufacturer’s guidelines for best results.
3. How many coats of paint should I apply?
Most doors look best with two to three thin, even coats. This approach ensures a smooth, professional finish and prevents drips or texture issues.
4. Should I remove the door for painting?
If possible, remove the door for easier access and a smoother finish. If it must stay in place, use painter’s tape to protect the frame and hinges. Remove hardware to avoid paint buildup.
5. How can I prevent brush marks when painting doors?
Use long, smooth strokes with a high-quality brush or foam roller. Apply thin coats, let each coat dry completely, and lightly sand between coats for a flawless finish.
Painting interior doors is a rewarding DIY project that dramatically improves your home’s look and value. By following the steps outlined in this guide—choosing the right paint, preparing the surface thoroughly, using quality tools, and applying thin, even coats—you can achieve a professional finish that lasts. Regular maintenance and prompt touch-ups will keep your doors looking their best for years to come. Whether you’re refreshing old doors or giving new ones a personalized touch, the process is straightforward with the right approach.

Tyler Finnigan, founder of Finn’s Painting Company, brings a lifetime of craftsmanship and dedication to his work. Raised alongside his father, Tyler honed his construction and finishing work skills, learning the value of precision and excellence. After serving in the United States Marine Corps, where he developed discipline and leadership, Tyler expanded his expertise in the luxury sector, mastering high-end project management and exceptional customer service. Today, he combines these experiences to deliver outstanding interior and exterior painting services rooted in integrity and attention to detail. Tyler’s commitment to quality ensures every home shines with beauty and lasting craftsmanship.