
Why Peeling or Cracking Paint Happens in Davidsonville
Davidsonville’s humid climate and frequent weather changes put extra stress on exterior paint. Moisture, temperature swings, and sun exposure can all contribute to paint failure. When paint starts peeling or cracking, it’s often a sign that water is getting behind the surface, which can lead to rot, mold, or further structural issues if not addressed quickly. Recognizing the early signs of paint deterioration helps homeowners take action before minor problems turn into costly repairs.
How to Spot the Early Signs of Paint Failure
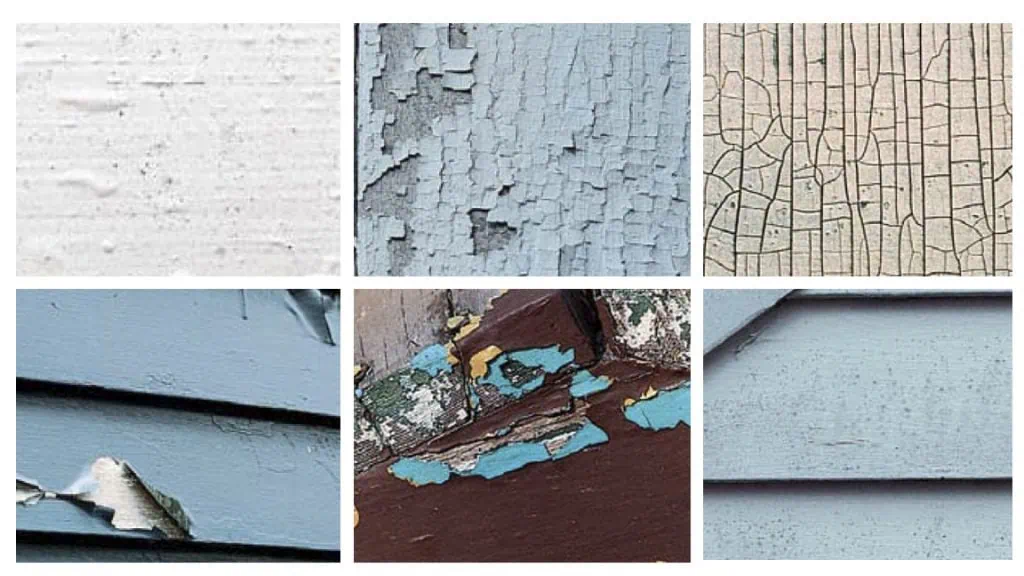
Peeling paint often starts as small, flaky patches that can be easily lifted with a fingernail. Cracking may appear as fine lines or a network of fissures, sometimes resembling an alligator’s skin. If you notice bubbling, blistering, or a powdery residue, these are clear indicators that moisture or poor adhesion is at play. Early detection means you can often fix the issue before it spreads, saving time and money in the long run.
The Importance of Addressing Paint Problems Promptly
Ignoring peeling or cracking paint can lead to bigger issues, including wood rot, water infiltration, and even health hazards like mold or lead dust (in older homes). Quick repairs not only protect your home’s structure but also help maintain its curb appeal and resale value. Waiting too long can turn a simple patch job into a major restoration project, so timely action is key.
Tools and Materials You’ll Need for Paint Repair
Before starting, gather all necessary tools and supplies:
-
Paint scraper or wire brush
-
Sandpaper (medium and fine grit)
-
Patching compound or spackle
-
Tack cloth or damp rag
-
Exterior primer and paint
-
Paintbrush or roller
-
Safety gear (gloves, mask, eye protection)
Having everything ready ensures a smooth, efficient repair process and helps you avoid unnecessary trips to the store.
Step 1: Inspect and Assess the Damage
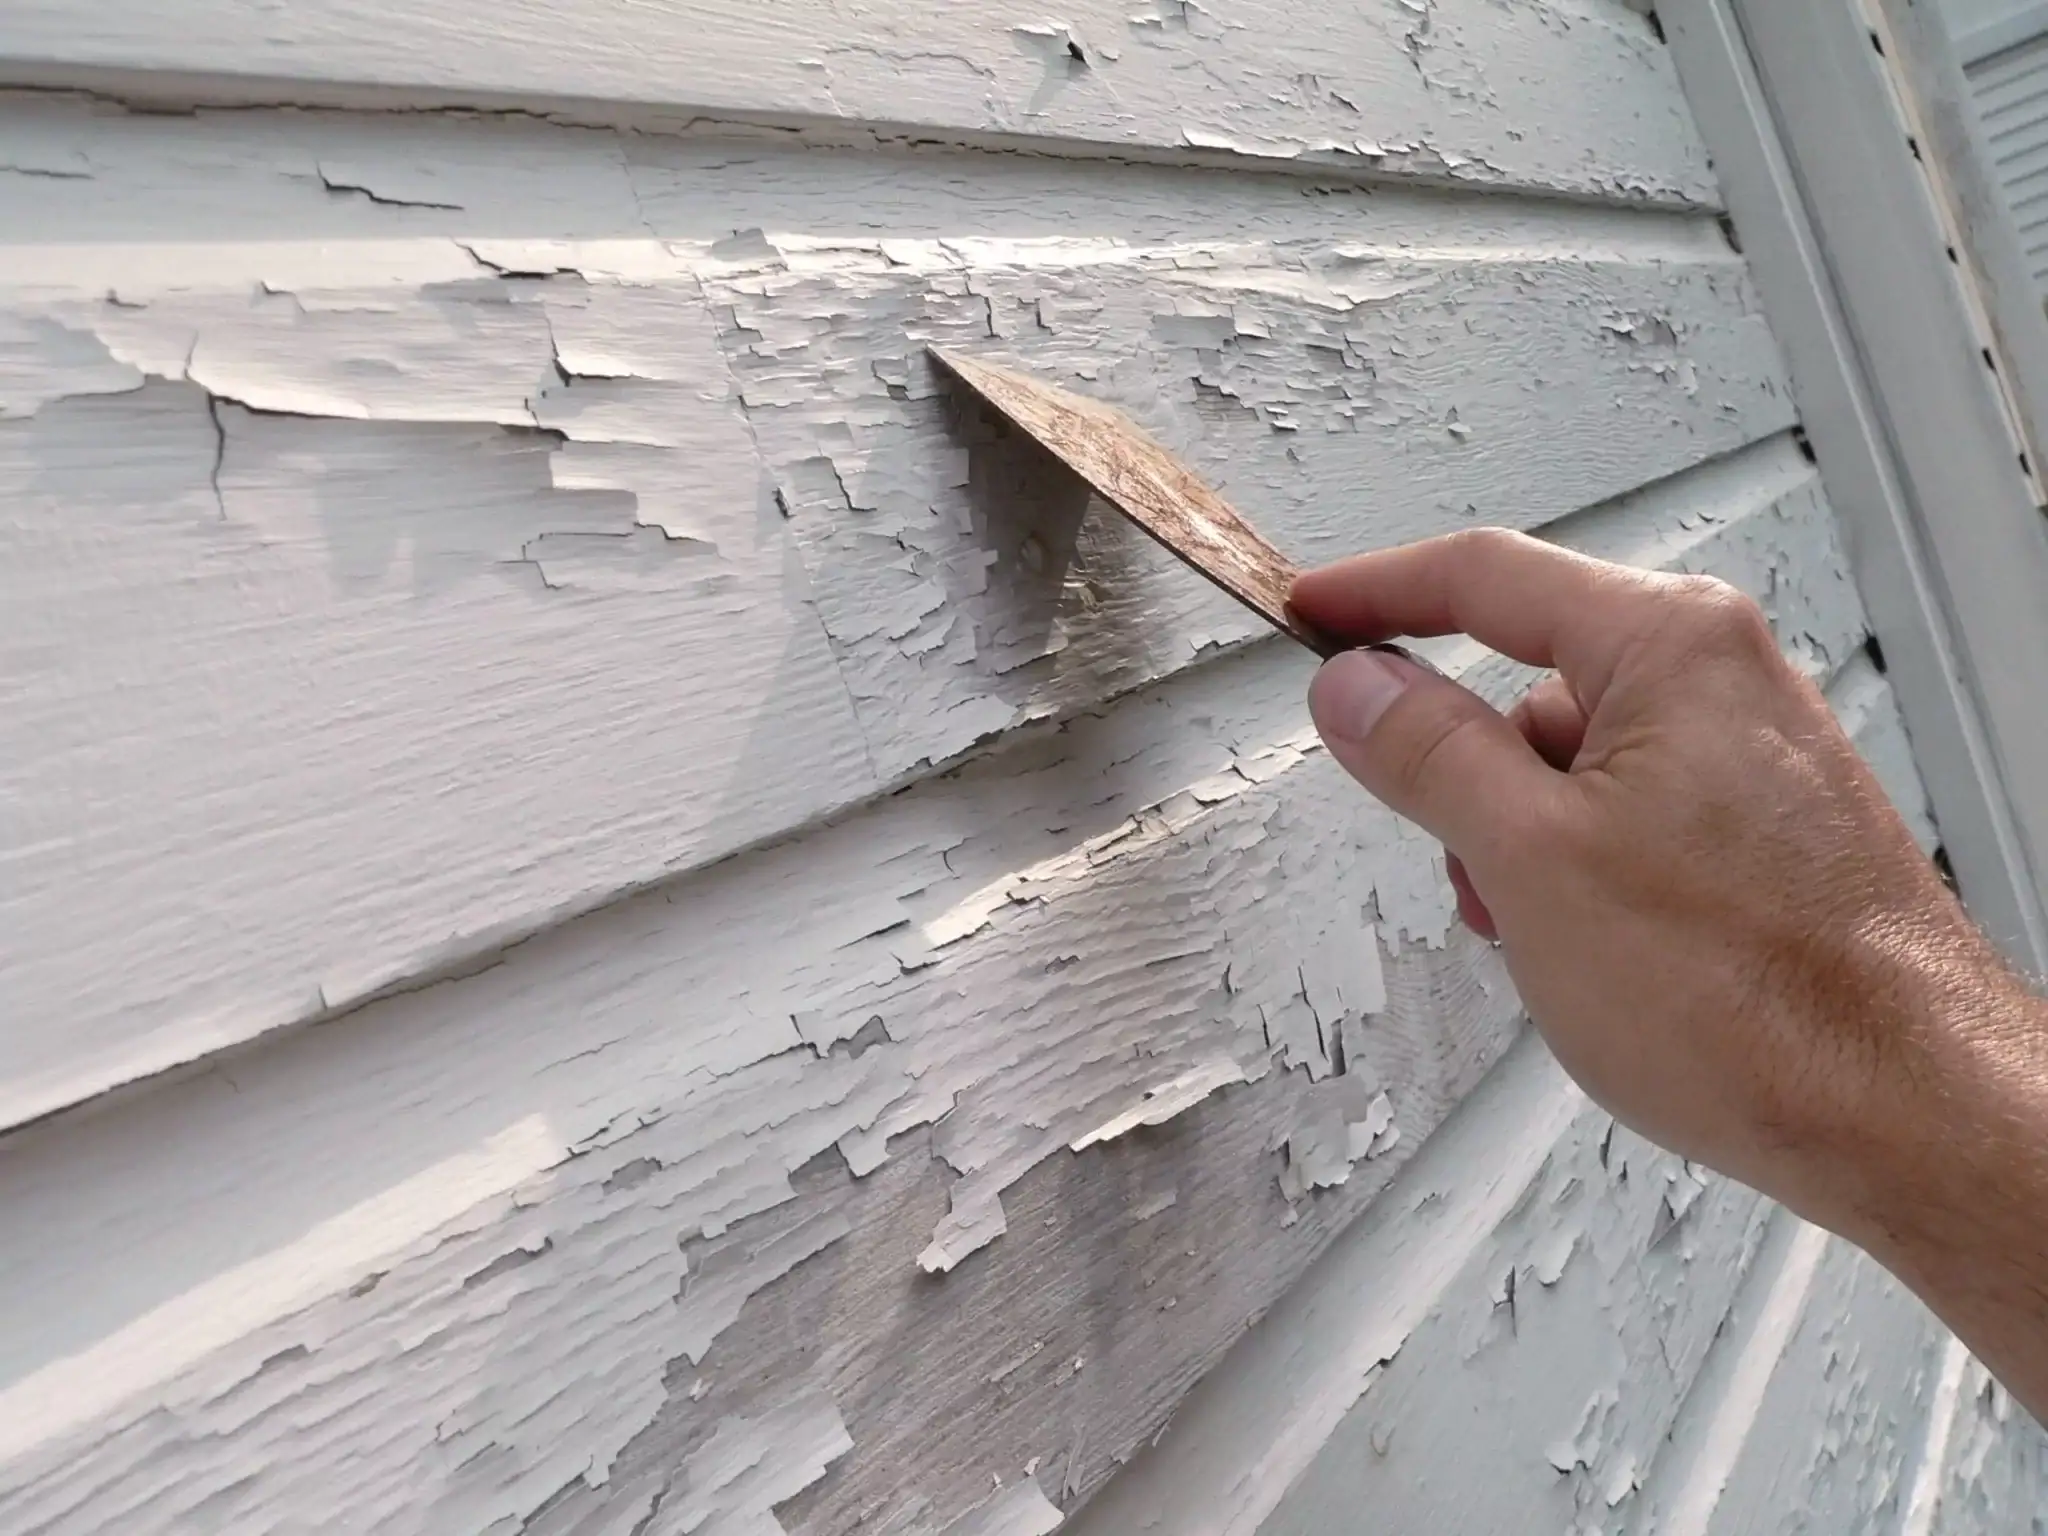
Begin by thoroughly inspecting the affected area. Look for loose, flaking, or bubbled paint, and note the size and depth of the damage. Use a moisture meter to check for hidden water intrusion, especially around windows, doors, and eaves. If you spot soft or discolored wood, it may indicate rot that needs to be addressed before repainting.
Step 2: Remove All Loose Paint
Use a paint scraper or wire brush to carefully remove all peeling and flaking paint. Work in small sections to avoid damaging the underlying surface. For stubborn areas, gently sand the edges to create a smooth transition. If your home was built before 1978, test for lead paint and follow EPA safety guidelines to protect yourself and your family.
Step 3: Clean and Prepare the Surface
Wipe down the area with a damp rag to remove dust and debris. If there’s mildew or mold, clean it with a mild detergent or a solution of water and bleach. Rinse thoroughly and let the surface dry completely. Proper cleaning ensures better adhesion for the new paint and helps prevent future issues.
Step 4: Patch and Repair Damaged Areas
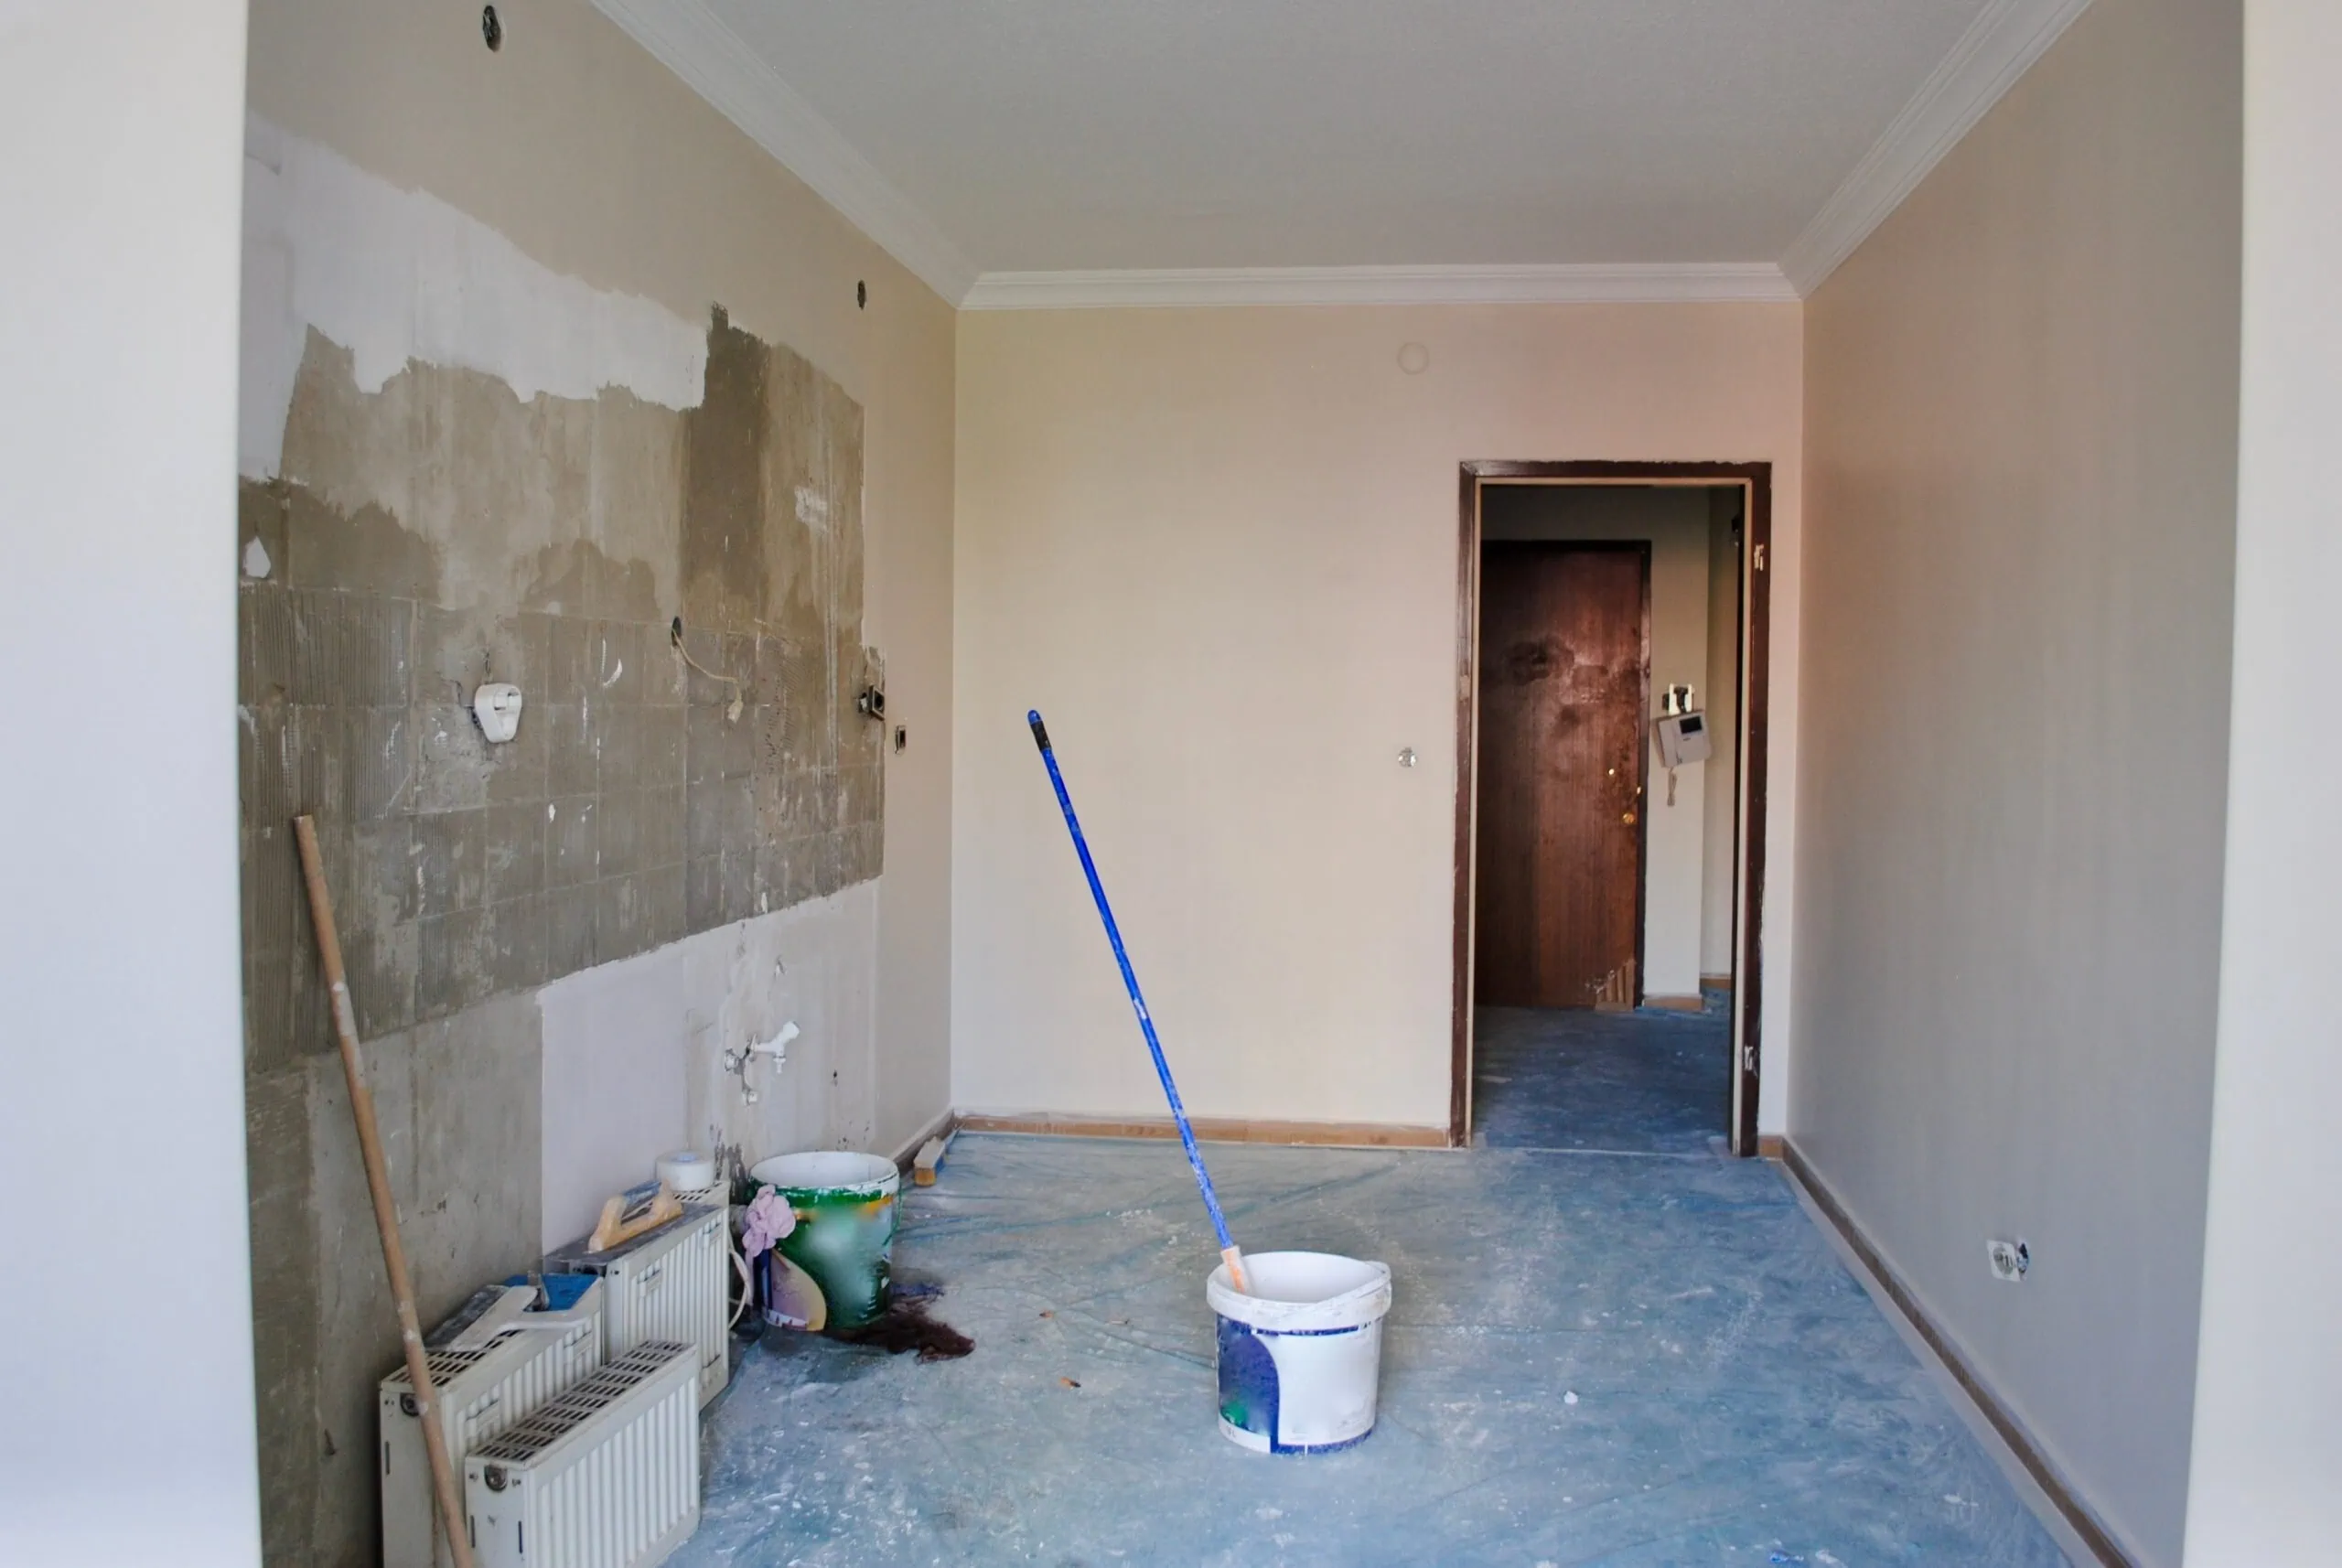
Apply a patching compound or spackle to any holes, cracks, or uneven spots. Smooth it out with a putty knife and let it dry according to the manufacturer’s instructions. Once dry, lightly sand the area until it’s flush with the surrounding surface. This step is crucial for achieving a smooth, professional finish.
Step 5: Prime for Long-Lasting Results
Apply a high-quality exterior primer to the repaired area. Primer helps seal the surface, improves paint adhesion, and protects against moisture. Choose a primer that’s suitable for your home’s material—wood, stucco, or siding. Let the primer dry completely before moving on to the next step.
Step 6: Paint and Finish
Using a paintbrush or roller, apply a coat of exterior paint that matches your home’s color. For best results, apply two thin coats, allowing each coat to dry completely before applying the next. Finish by blending the new paint into the existing finish for a seamless look. Proper technique ensures a durable, attractive result that stands up to Davidsonville’s weather.
Step 7: Maintain Your Home’s Exterior
Regular maintenance is essential for preventing future paint problems. Inspect your home’s exterior at least twice a year, clean gutters, and address minor issues promptly. Re-caulk gaps, trim vegetation away from the siding, and consider professional maintenance every few years to keep your home looking its best.
Frequently Asked Questions
1. What Should I Do If My House Paint Is Peeling or Cracking in Davidsonville?
If you notice peeling or cracking paint, start by inspecting the affected area for moisture and damage. Remove all loose paint, repair any substrate issues, and then prime and repaint with products suited to Davidsonville’s climate. Addressing root causes like leaks or poor ventilation helps prevent recurring problems.
2. How Can I Tell If Moisture Is Causing the Paint to Fail?
Signs of moisture-related paint failure include bubbling, blistering, and soft or discolored wood beneath the paint. If you suspect moisture is the culprit, check for leaks, inspect gutters and flashing, and ensure proper ventilation around the affected area.
3. What Tools and Materials Are Essential for Repairing Peeling Paint?
You’ll need a paint scraper, wire brush, sandpaper, patching compound, primer, exterior paint, and safety gear. For larger projects, consider using a pressure washer, orbital sander, and drop cloths to contain debris and protect your landscaping.
4. How Long Does It Take to Repair Peeling or Cracking Paint?
Small repairs can be completed in a day or two, while larger projects may take several days. Allow ample time for each step, especially for drying and curing, to ensure a durable finish.
5. When Should I Hire a Professional for Paint Repair?
If you’re dealing with extensive damage, suspect lead paint, or are unsure about the best materials and techniques, it’s wise to consult a professional like Finn’s Painting Company. Professionals can ensure the job is done safely and correctly, saving you time and money in the long run. For the fuller picture on where DIY time actually goes, see our breakdown of DIY vs hiring a painting contractor.

Tyler Finnigan, founder of Finn’s Painting Company, brings a lifetime of craftsmanship and dedication to his work. Raised alongside his father, Tyler honed his construction and finishing work skills, learning the value of precision and excellence. After serving in the United States Marine Corps, where he developed discipline and leadership, Tyler expanded his expertise in the luxury sector, mastering high-end project management and exceptional customer service. Today, he combines these experiences to deliver outstanding interior and exterior painting services rooted in integrity and attention to detail. Tyler’s commitment to quality ensures every home shines with beauty and lasting craftsmanship.